


Social media has evolved into a crucial tool for companies looking to engage with their customers and advertise their goods and services. Facebook continues to be one of the most widely used and successful social media platforms for businesses to interact with their target audience.
By 2024, Facebook will have over 2.97 billion monthly active users, giving companies a huge potential audience to market their content and increase engagement. Boosting your Facebook posts is a good strategy to increase your visibility.

A paid advertising tool on Facebook called “Boost” enables you to reach more people than you could through organic means. It is an easy and affordable approach to publicizing your content, boosting engagement, and enhancing website traffic. This article will walk you through the process, step-by-step.
STEP 1: Go to Your Facebook Page
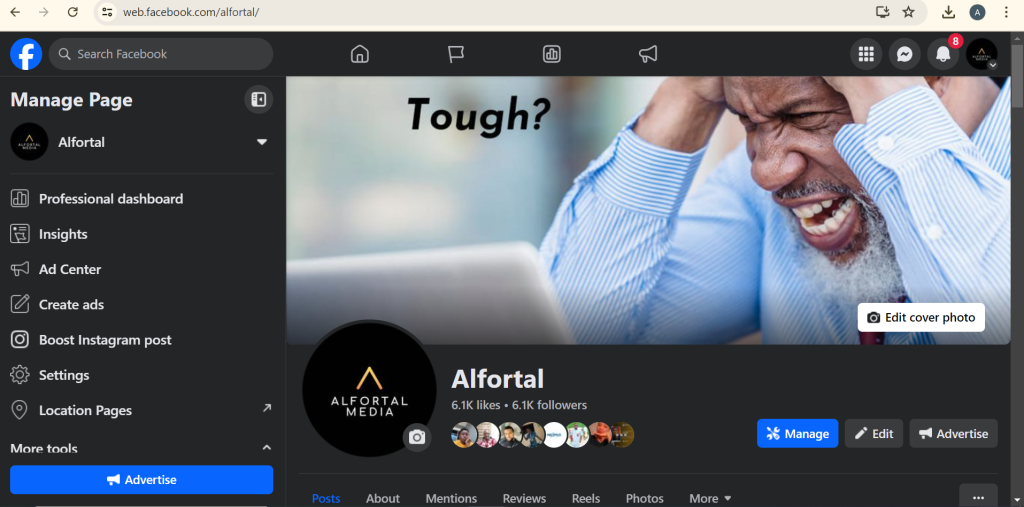
Logging into your Facebook account and going to your page are the first two steps in the process of boosting a Facebook post.
If your page has a traditional layout, you can access it from the menu on the left side of your Facebook home page. If you have a new page layout, you may access it by selecting “Pages” from the menu that displays when you click on the three horizontal lines in the bottom right corner of your Facebook homepage.
Once you are on your Page, you can navigate to the post that you want to boost. You can either scroll through your Page’s timeline to find the post or go to the “Posts” section on your Page and locate the post from there.
STEP 2: Find the Post You Want to Boost
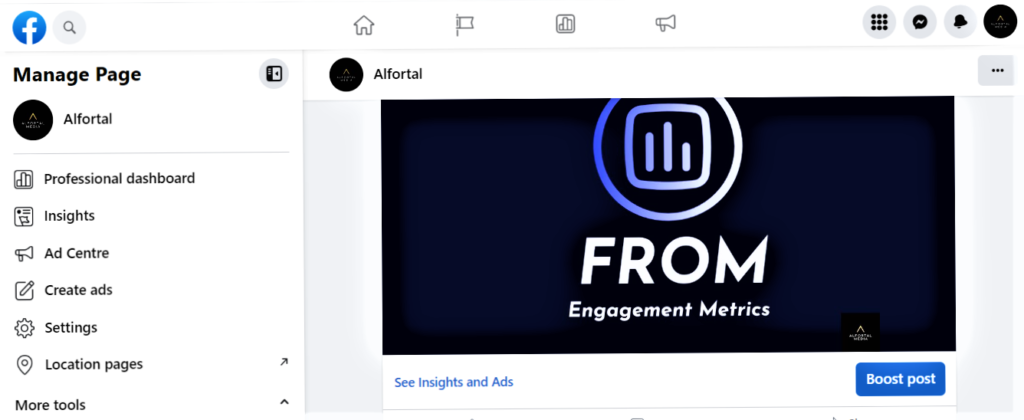
You must locate the post you wish to boost after logging into your Facebook Page. Any of your previous postings, such as status updates, pictures, videos, or links, are available for selection. It’s crucial to pick a post that speaks to your target audience and is relevant to your marketing goals.
Consider posts that have performed well organically, such as those with high engagement rates or positive comments. These posts are good candidates for boosting as they have already proven to be engaging to your audience. Alternatively, you can also select posts that are not performing well organically but have the potential to gain more visibility with additional reach.
STEP 3: Tap “Boost Post”
The next step is to tap the “Boost post” button once you have found the post you wish to promote. On your Facebook Page, just below the post, is a button that says “Boost post.” After you click on it, a window containing choices for customizing your advertisement will open.
Note: If you are unable to tap “Boost post” or if the post indicates that “Boost is not available for this post,” it may not be possible to boost that specific post. Facebook has a set of rules and regulations on the kinds of content that can be promoted. For instance, boosting is not permitted for posts with low-quality images, videos, and inappropriate, offensive, or sexually explicit content.
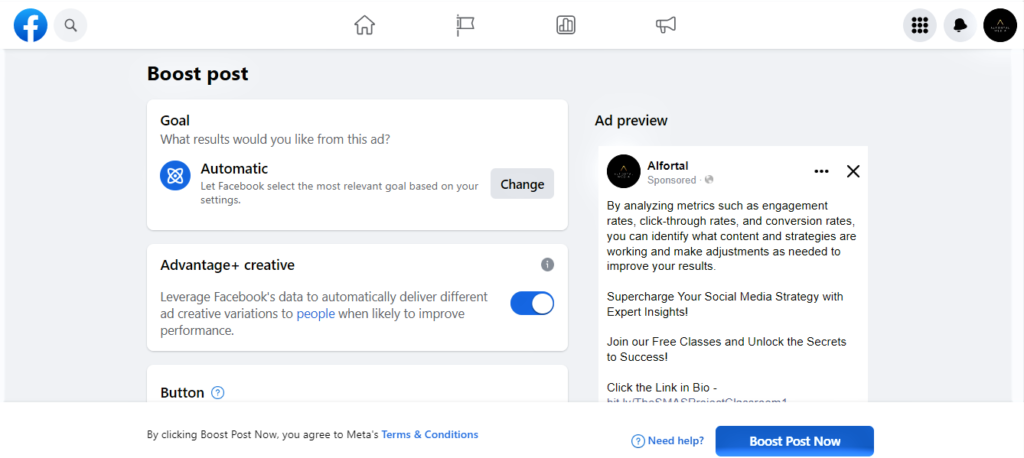
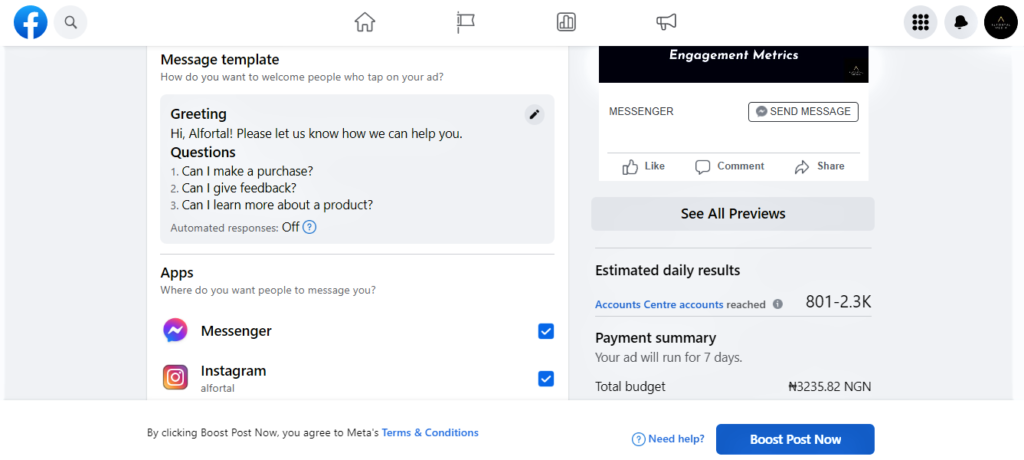
STEP 4: Fill in the Details for Your Ad
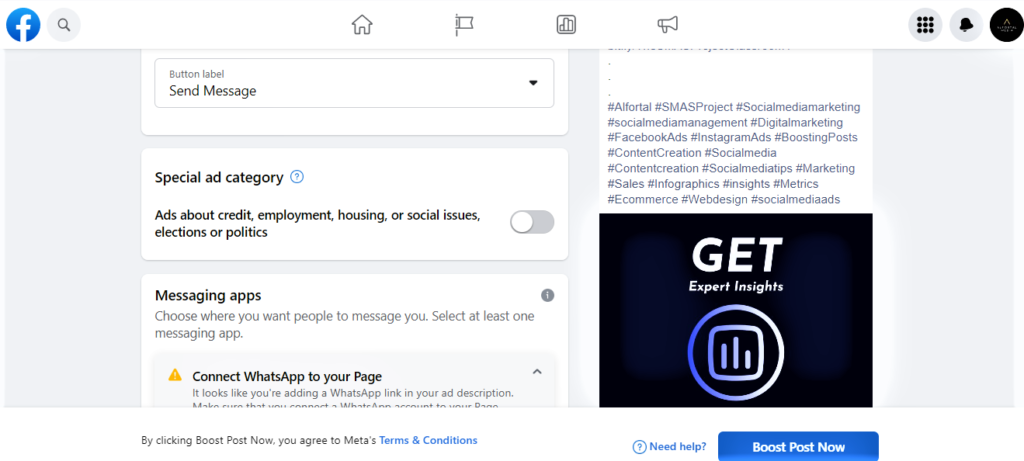
After clicking on “Boost post,” you will need to fill in the details for your ad. This includes selecting your target audience, setting your budget and duration, and choosing the ad placement.
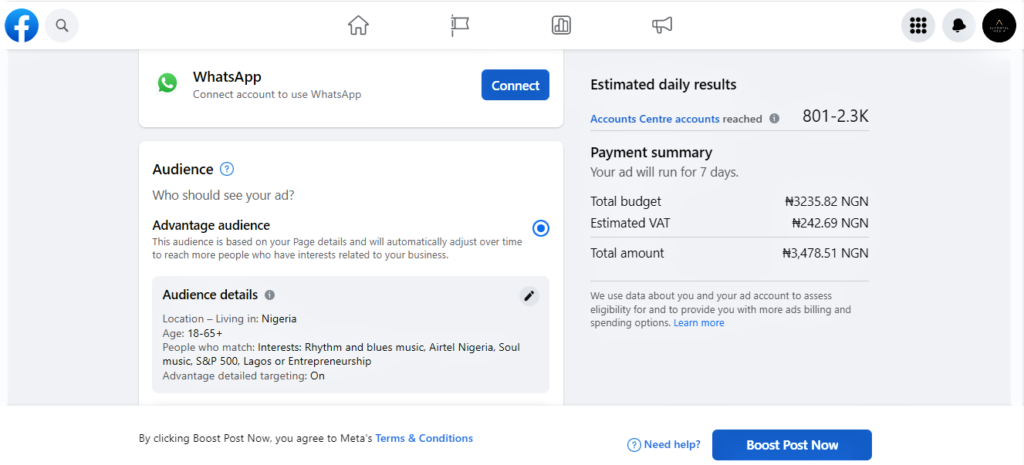
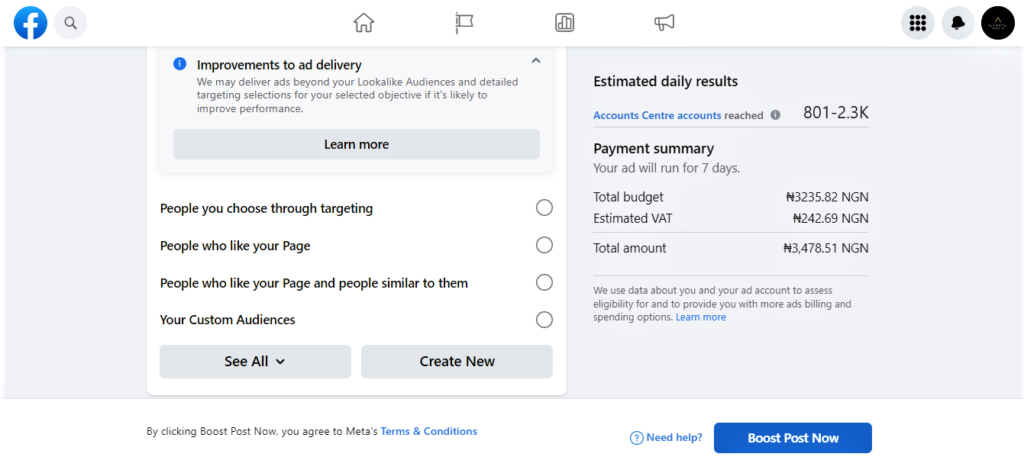
a) Selecting Your Target Audience
Choosing your target audience is one of the most important aspects of boosting your post. This is where you define the demographics, interests, and behaviors of the people you want your ad to reach. Based on variables such as age, gender, location, interests, and more, you can target a more specific audience. To achieve the most relevance and engagement, it’s crucial to select a target audience that is compatible with your objectives and the subject matter of your promoted post.
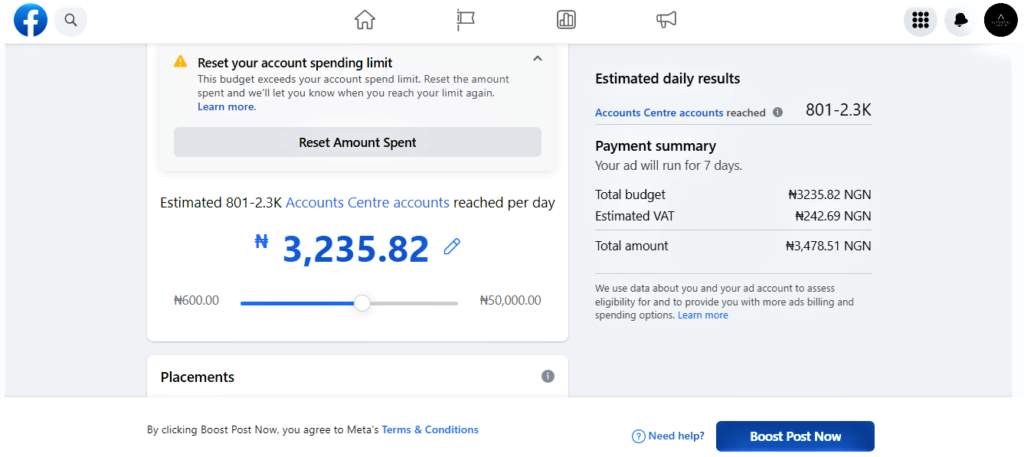
b) Setting Your Budget and Duration
You must then decide on a budget and duration for your boosted post. Depending on your interests, you can pick between a daily budget and a lifetime budget.
The lifetime budget is the total amount you are willing to spend on your advertisement throughout the course of the campaign, whereas the daily budget is the amount you are willing to spend on it each day.
You must also decide on the length of your advertising campaign, which might be anywhere between a few days and several weeks. It’s crucial to establish a budget and duration that correspond with your overall marketing goals and budget.

c) Choosing the Ad Placement
The location of your boosted post on social media is referred to as the ad placement. There are many options available, including Facebook feed, Instagram feed, Instagram Stories, and more.
Each placement has specific benefits and drawbacks, so it’s important to pick the ones that will help you reach your objectives and connect with your target audience. For instance, placing your ads on Instagram feeds and stories may be more successful if your target demographic is more active there.
STEP 5: Tap “Boost Post Now”
Once you’ve tapped Boost post, your ad will be submitted for review to make sure it meets the ad policies. Your ad will begin running after it’s been reviewed and approved.
NB: If it is disapproved, the reason(s) will be stated
When it comes to promoting content on Facebook, businesses have two options: using the Facebook Ads Manager or simply boosting a post. However, savvy marketers know that using the Facebook Ads Manager is a more strategic and effective approach compared to just boosting a post because of its
- Customization and Targeting options
- Ad Placement Control
- Advanced Ad Objectives Options
- Budgeting and Scheduling Flexibility
To see how the Facebook Ads Manager works: THE FACEBOOK ADS MANAGER